
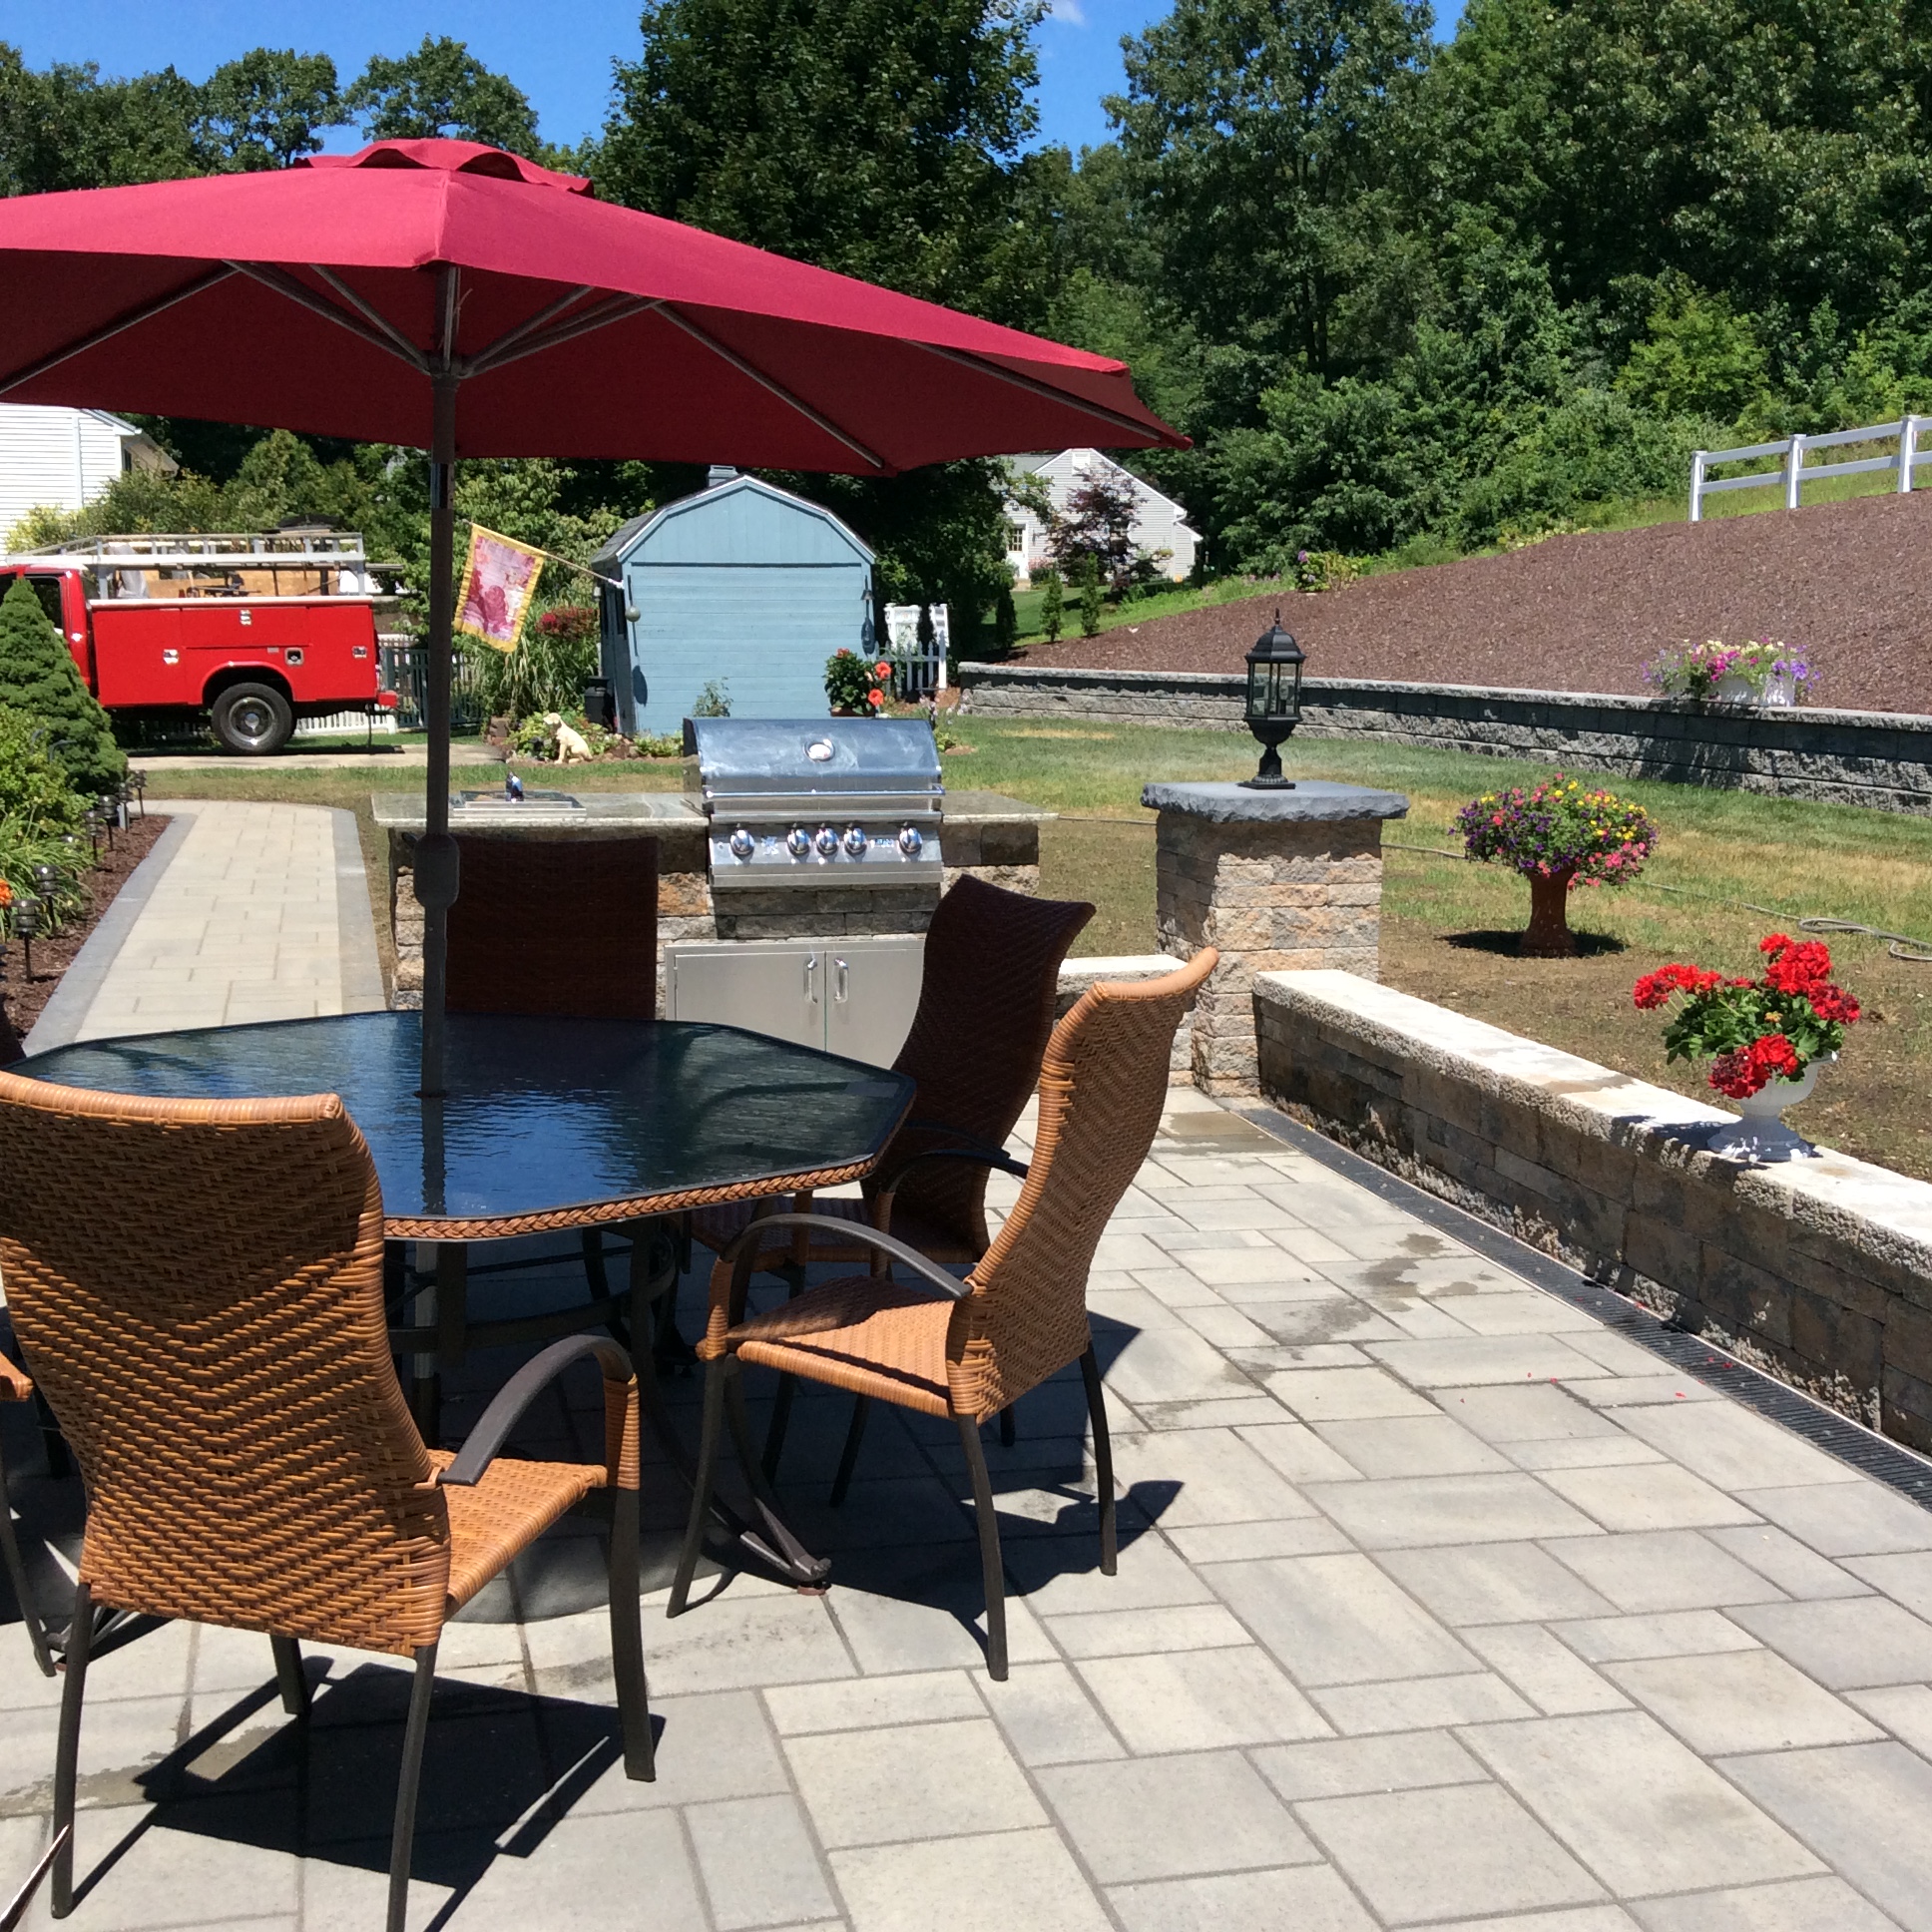
An outdoor kitchen looks like finished stone, clean counters, built-in grills, and a better backyard. Underneath, it is an excavation project first. In Connecticut, freeze-thaw movement can turn a beautiful masonry island into cracked joints, uneven appliance openings, and sinking patio edges when the base is built over soft topsoil or a shallow patio.
Valley View Excavating LLC brings both sides of the job together: heavy excavation and precision hardscaping. Our team has served Plainville and surrounding Connecticut towns since 2007, and our services include excavation, hardscaping, pavers, retaining walls, drainage, and outdoor kitchens.
What Makes an Outdoor Kitchen Base Frost-Proof?
A frost-proof outdoor kitchen base starts below the visible surface. The proper process includes excavating through organic topsoil, shaping a pitched subgrade, installing geotextile fabric where needed, compacting a crushed stone base, and building the kitchen on a stable, well-drained platform. Standard paver guidance lists 4 to 6 inches of compacted aggregate base as a common minimum for walks, while heavier outdoor kitchen loads may require deeper excavation, thicker base sections, or frost-depth footings depending on the design.
Why Connecticut Freeze-Thaw Cycles Damage Outdoor Kitchens
Connecticut winters create repeated freezing, thawing, and water movement in the ground. When water collects under stonework, it expands during freezing and pushes upward. When it thaws, the base can settle unevenly. That movement is especially damaging under outdoor kitchens because grills, refrigerators, counters, masonry walls, and utility connections all need level alignment.
This is why a search for “outdoor kitchen contractor near me” should not lead to a crew that only thinks about the surface. The first question should be: who is preparing the ground?
Our Outdoor Kitchen service covers outdoor kitchen design, installation, materials, built-in grills, counters, sinks, and custom backyard layouts across Connecticut.
Step 1: Excavate Past Organic Topsoil
The first stage in how to build an outdoor kitchen base is excavation. Topsoil contains roots, organic matter, and moisture. It is excellent for grass, but it is not a structural base for masonry.
Our crew removes loose soil until the area reaches stable subsoil. For patios and outdoor kitchens, this step matters because a heavy island concentrates weight in one area. A shallow scrape can look fine on day one, then shift after the first winter.
Step 2: Shape the Subgrade With Proper Pitch
A frost-proof base needs water control. Before stone is installed, the subgrade should be shaped so water does not sit under the kitchen or flow toward the house.
For most patio pavers Plainville CT projects, the base should pitch away from the foundation and toward a safe drainage area. If the yard already has water problems, this may require drain work, swales, catch basins, or grading before the kitchen build starts.
Step 3: Install Geotextile Fabric When Needed
Geotextile fabric separates the native soil from the stone base. This helps prevent soft soil from migrating into the crushed stone and weakening the platform. It is especially useful on clay, wet subgrades, or areas where soil separation is needed.
The goal is simple: keep the structural stone clean, compacted, and able to drain.
Step 4: Compact 4 to 6 Inches of Crushed Process Stone
The crushed process base is the workhorse layer. It spreads the load, creates drainage, and helps lock the patio and kitchen structure together.
For many pedestrian paver applications, industry guidance references a 4 to 6 inch aggregate base minimum. Heavy outdoor kitchen islands may need more than that depending on soil, size, appliance weight, and whether masonry footings are included.
Base material should not be dumped and compacted all at once. Paver base preparation guidance notes that many plate compactors only compact a limited depth effectively, so base material should be placed and compacted in layers rather than one thick lift.
Step 5: Build the Patio and Kitchen as One System
A common mistake is placing a heavy kitchen island on top of a finished patio without extra support. That can overload the paver field and cause settlement.
A better approach is to plan the patio, kitchen footprint, utilities, and masonry together. The base below the kitchen can be reinforced or deepened where needed, while the surrounding pavers remain properly pitched and compacted.
Our patio paver services includes custom patios, walkways, outdoor spaces, paver installation, and Plainville patio work. Our hardscaping gallery also shows patios, pavers, retaining walls, stone work, and backyard kitchen projects.
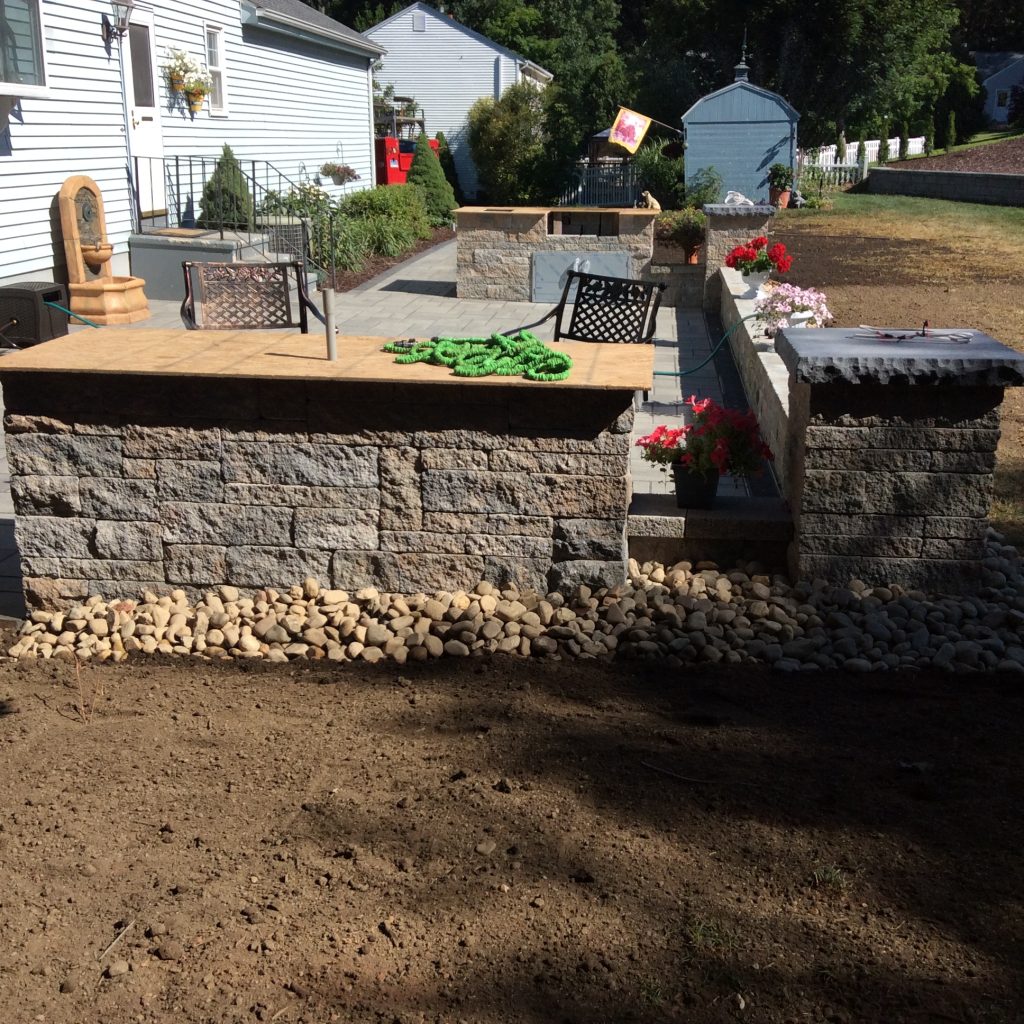
Signs the Base Was Built Wrong
Watch for these warning signs after one or two winters:
- Cracked mortar or stone veneer joints
- Grill or refrigerator doors rubbing
- Countertop seams opening
- Pavers dipping around the island
- Water pooling near the kitchen
- Patio edges spreading or sinking
Most of these problems start below the surface, not in the visible stone.
A Strong Outdoor Kitchen Starts With Excavation
A frost-proof outdoor kitchen base in Connecticut requires more than attractive stone and premium appliances. It starts with excavation, subgrade shaping, drainage, fabric separation, compacted crushed stone, and load-aware masonry planning.
For homeowners searching for an outdoor kitchen contractor near me or patio pavers Plainville CT, Valley View Excavating LLC offers the advantage of one team that understands both the heavy ground work and the finished hardscape. That means the kitchen is not just built to look good in summer. It is built to survive Connecticut winter.