
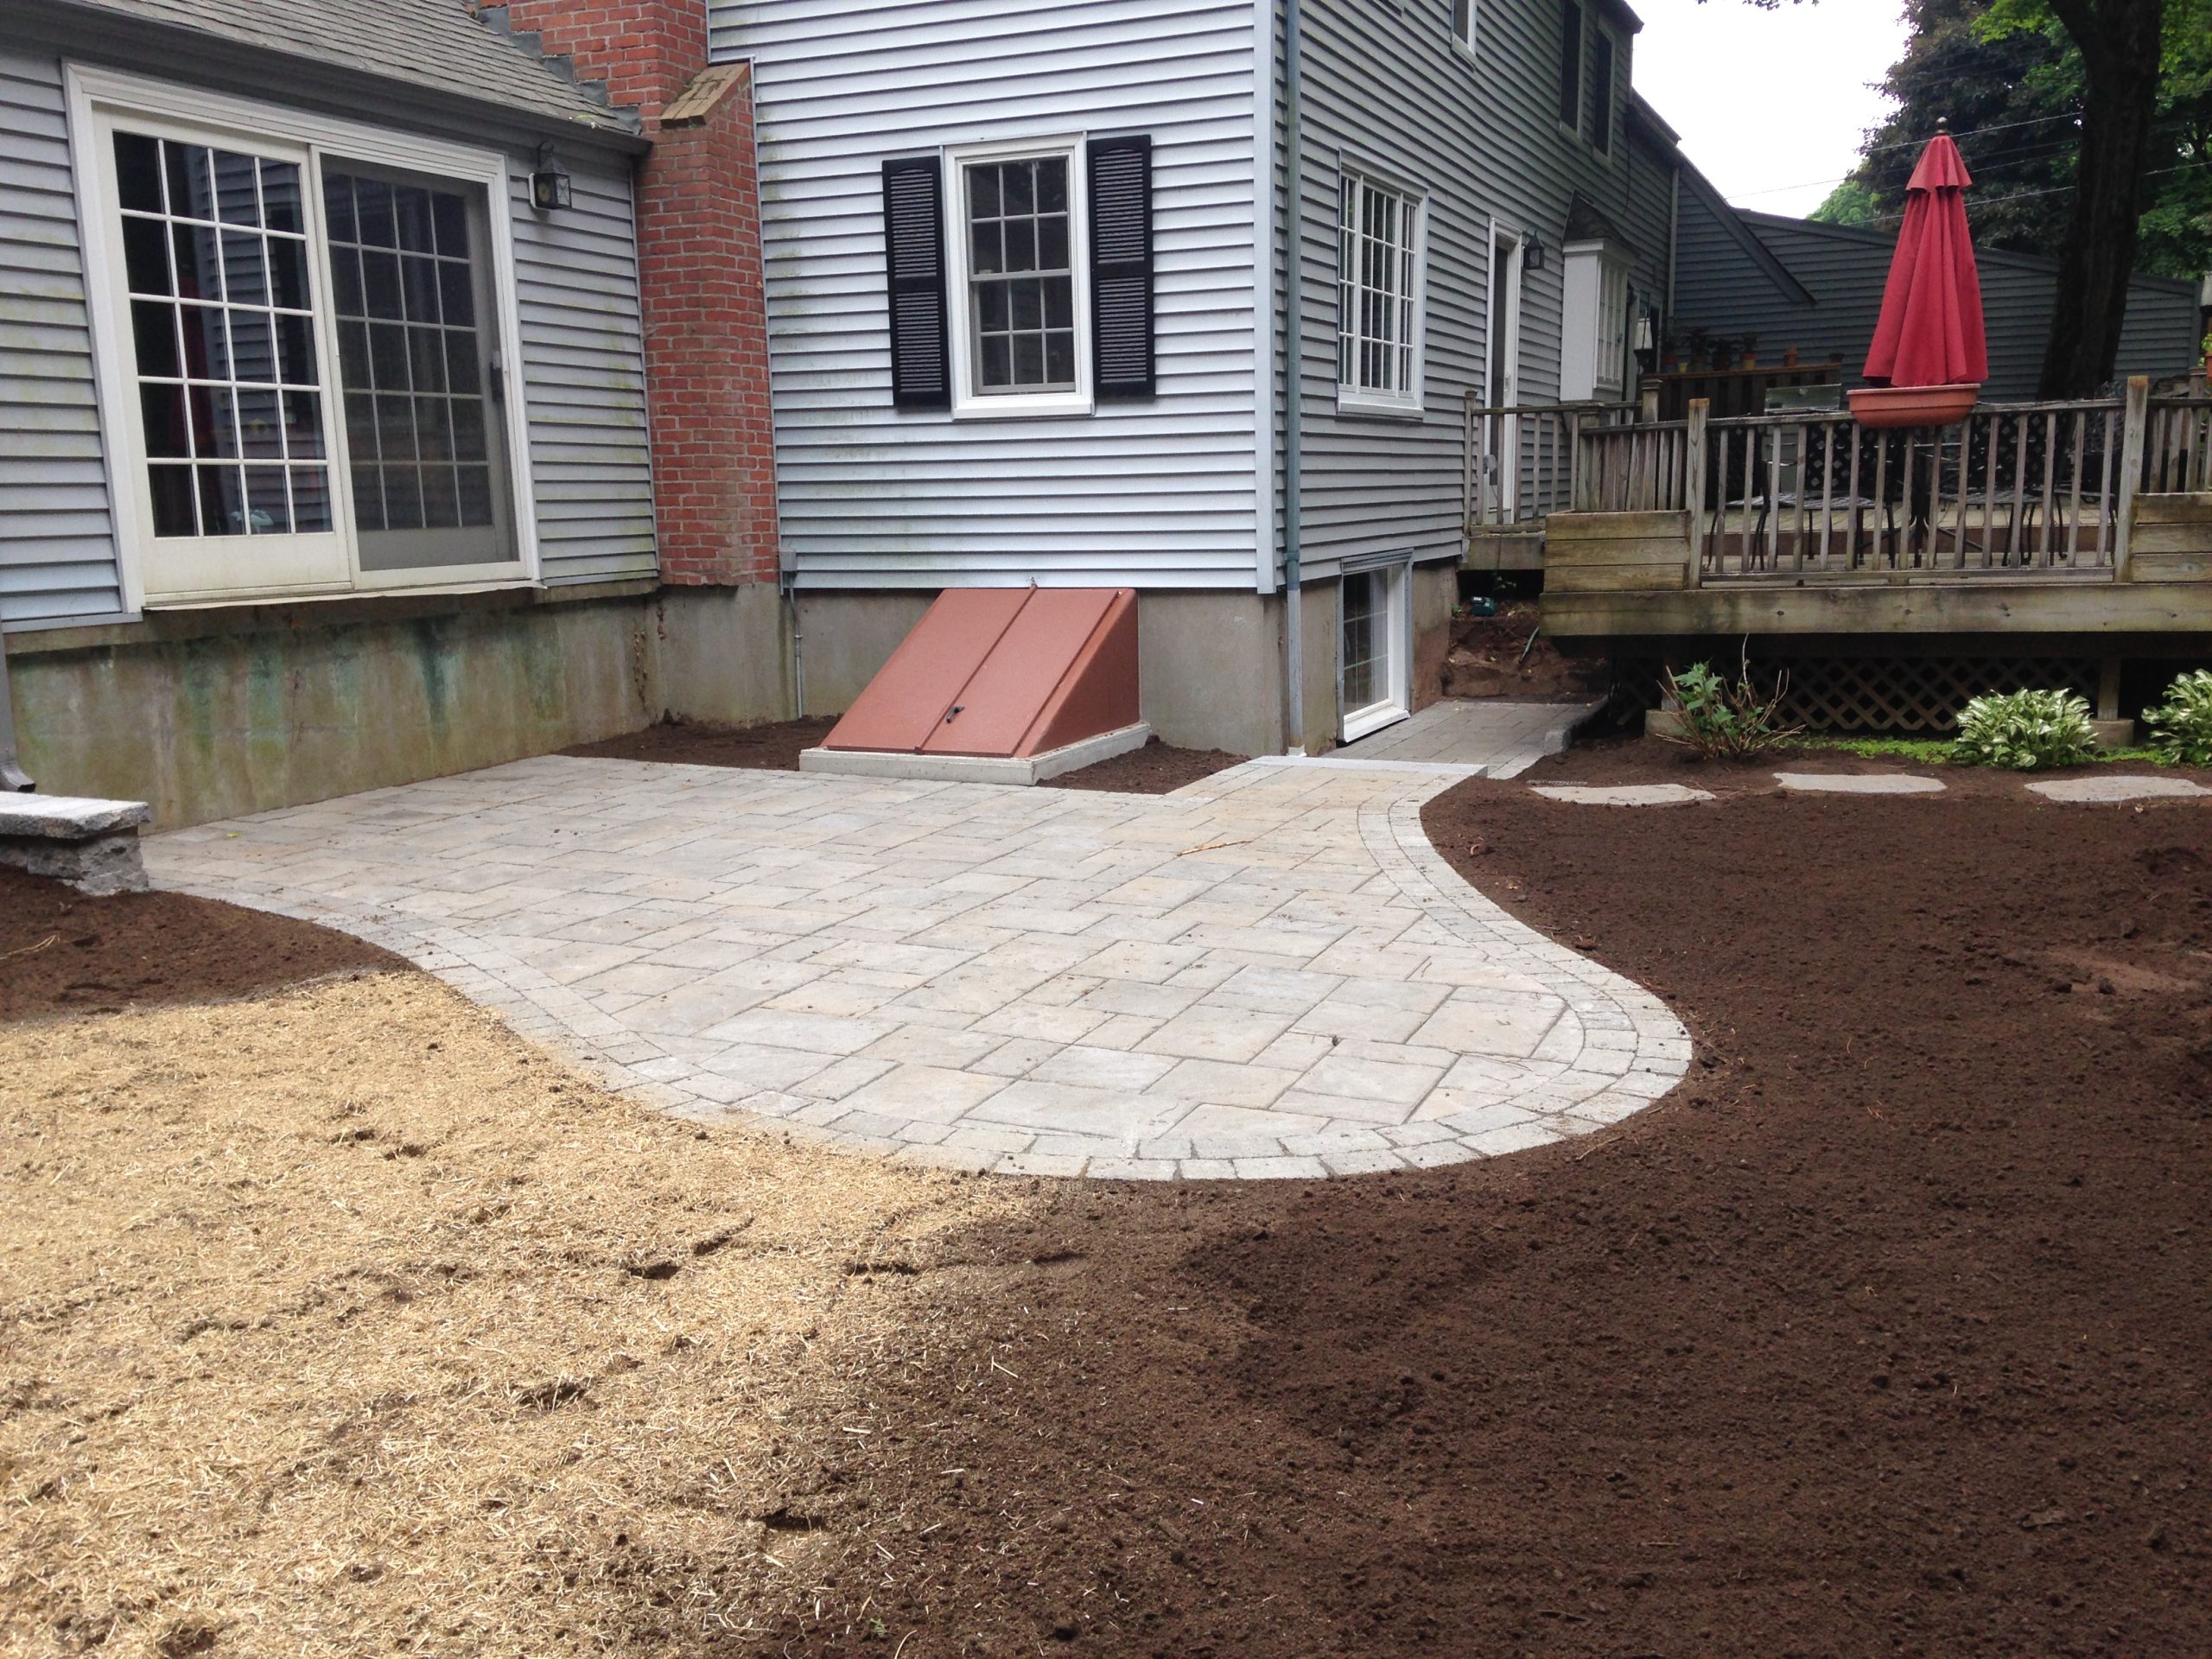
To install patio pavers, plan the layout, mark underground utilities, excavate the area, establish drainage, compact the soil, build a stable aggregate base, screed the bedding layer, place and cut the pavers, secure the edges, and fill the joints with sand. The Concrete Masonry and Hardscapes Association identifies excavation, subgrade compaction, aggregate-base installation, edge restraints, bedding sand, paver placement, joint filling, and final compaction as core parts of interlocking concrete pavement construction.
Patio pavers can turn an unused backyard into an outdoor dining area, fire pit zone, garden retreat, or entertainment space. However, a successful paver patio installation depends on much more than placing concrete pavers over sand. Proper excavation, grading, drainage, compaction, and edge restraint determine how well the finished patio handles foot traffic, rain, snow, and Connecticut freeze-thaw cycles.
Tools and Materials for Patio Paver Installation
The exact equipment depends on the patio size and site conditions, but a typical project may require:
- Patio pavers
- Crushed aggregate base
- Bedding sand or approved bedding aggregate
- Joint sand or polymeric sand
- Edge restraints and spikes
- Stakes and layout string
- Shovels, rakes, and screed rails
- Level or laser level
- Plate compactor
- Masonry saw or paver splitter
- Geotextile fabric when site conditions require it
- Safety glasses, gloves, hearing protection, and dust protection
Order additional pavers for cuts, accidental damage, pattern adjustments, and future repairs.
Step 1: Plan the Paver Patio
Measure the project area and create a basic patio layout. Consider furniture placement, doors, steps, walkways, retaining walls, fire pits, and outdoor kitchen features before choosing the final dimensions.
Select a paver pattern that complements the home and fits the intended use. Running bond, basketweave, herringbone, and modular patterns are popular choices for backyard patios and walkways.
Homeowners comparing materials, styles, and professional installation can visit our patio paver contractor page.
Step 2: Request an Underground Utility Markout
Before excavation begins, confirm the location of underground gas, electric, communication, water, and other utility lines. Connecticut’s Call Before You Dig program states that anyone using power or mechanized equipment for an outdoor digging project must request a utility markout, regardless of project depth or whether the work is on public or private property.
Private utilities, including certain irrigation, lighting, drainage, or privately installed lines, may require separate locating services.
Step 3: Establish the Patio Grade
Mark the finished patio height and create a consistent slope that directs surface water away from the home and other structures. The patio should connect cleanly with doors, steps, walkways, lawns, and existing hardscaping.
Poor grading can allow water to collect beneath the patio or against the foundation. Properties with standing water, saturated soil, or downspout problems may require professional yard drainage solutions before paver installation begins.
Step 4: Excavate the Patio Area
Remove grass, topsoil, roots, loose soil, and unsuitable material. The excavation must accommodate the compacted aggregate base, bedding layer, and paver thickness while maintaining the planned finished elevation.
Required excavation depth depends on soil type, drainage, intended use, paver thickness, and local freeze-thaw conditions. A patio built on soft clay, disturbed fill, or wet soil may require additional preparation.
Step 5: Compact the Soil Subgrade
Level and compact the exposed soil before adding aggregate. Soft spots should be removed or stabilized rather than covered.
CMHA guidance emphasizes that proper subgrade and aggregate-base compaction are critical for reducing settlement in interlocking concrete pavement.
Geotextile fabric may be recommended when soil conditions create a risk of base material mixing with the subgrade.
Step 6: Install and Compact the Paver Base
Spread the approved crushed aggregate in manageable layers. Compact each layer before adding the next. Building the base in lifts helps reduce voids and creates more uniform support.
Check the elevation and slope throughout the process. Do not use bedding sand to correct large depressions in an uneven base. The compacted aggregate should already reflect the final patio grade.
Base preparation is especially important in Connecticut, where trapped water and seasonal ground movement can contribute to uneven or sunken pavers.
Step 7: Screed the Bedding Layer
Place screed rails over the compacted base and spread an approved bedding material between them. CMHA application guidance describes concrete pavers being placed over a bedding-sand layer approximately one inch thick.
Screed the material into a smooth, consistent surface. Avoid walking on or disturbing the finished bedding layer before placing the pavers.
Step 8: Lay and Cut the Patio Pavers
Begin at a straight edge, building, or established reference line. Place each paver directly onto the bedding layer without dragging it across the surface.
Check alignment frequently with string lines. Cut border pieces with a masonry saw or paver splitter while using proper protective equipment.
Step 9: Install Edge Restraints
Secure edge restraints around open patio edges to prevent the pavers from spreading. CMHA publishes dedicated technical guidance for edge restraints because they help maintain interlock and preserve the pavement shape.
Step 10: Compact and Fill the Joints
Use a plate compactor with a protective pad when required for the selected paver. Sweep approved joint sand or polymeric sand into the joints, compact the surface, and repeat until the joints are properly filled.
Follow the paver and joint-sand manufacturers’ instructions for compaction, cleaning, activation, and curing.
Should You Install Patio Pavers Yourself?
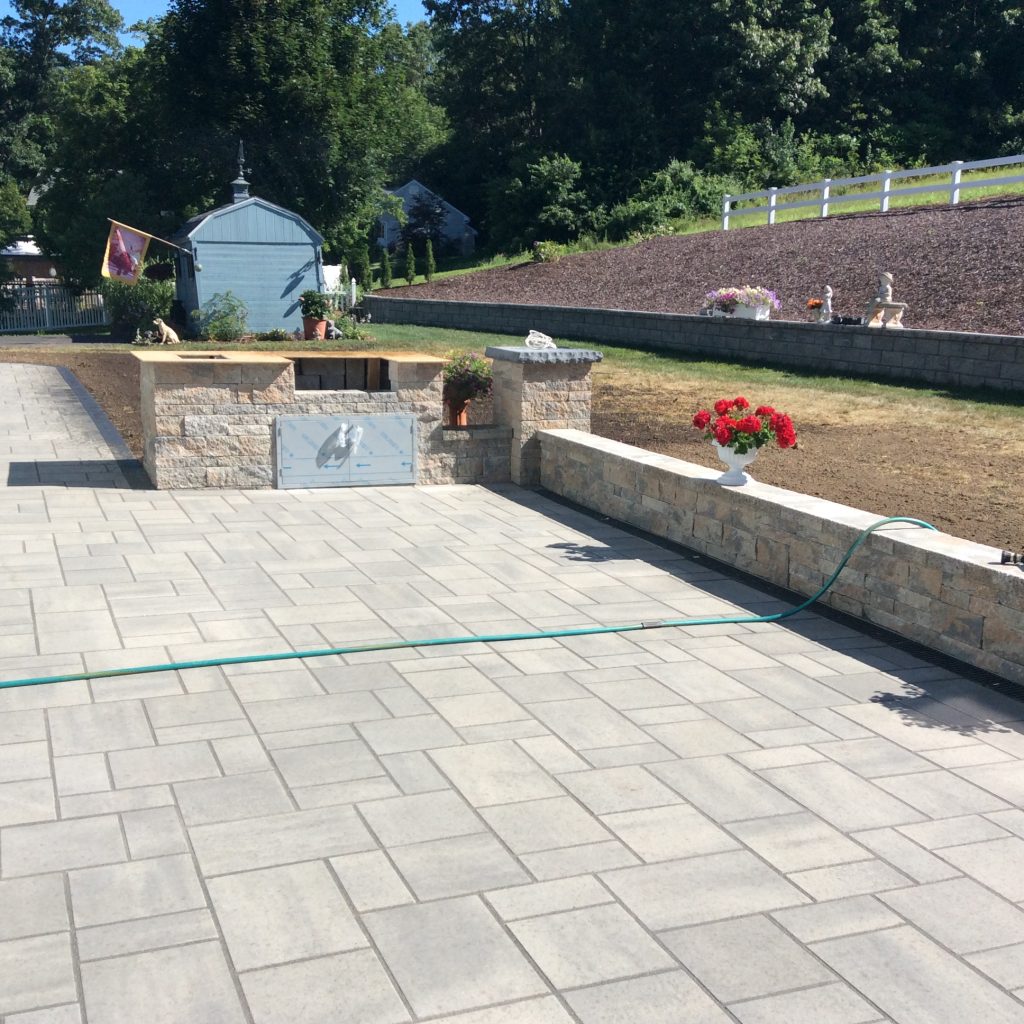
A small, level patio may be manageable for an experienced homeowner with suitable tools. Larger patios, sloped yards, poor soil, drainage problems, retaining walls, and complex transitions often benefit from professional excavation and hardscaping.
Valley View Excavating has provided excavation and hardscaping services in Plainville and surrounding Connecticut communities since 2007. Our work includes patio paver installation, grading, drainage preparation, walkways, and outdoor living spaces.
Call (860) 559-4977 to discuss professional patio paver installation in Plainville, CT.